Use Btrfs on Fedora Installed from a Raw Image
Fedora is moving to Btrfs for its default file
system on its “desktop variants” in Fedora 33. This change is welcomed by some
users because of some benefits Btrfs is offering. Other Fedora variants still
default to ext4, although users may elect to use Btrfs during system
installation with the Anaconda installer. But for non-desktop-variant raw
image distributions like the Minimal aarch64 image, you do not have the
chance to choose a file system other than ext4, because you are applying the
image directly instead of using Anaconda. This post will show you how to use
Btrfs on a Fedora installation derived from such image by converting the file
system after the image is applied.
Reasons to Use Btrfs
Some advantages of Btrfs are already outlined in the Fedora Magazine article linked above. Personally, after using a Btrfs-based Fedora installation for a while on my laptop, I have found these benefits of Btrfs:
-
There will be no more headache of adjusting partition sizes when one partition is almost full but another one still has plentiful space.
Imagine if your
/homepartition is running out of space, but the/partition has some spare capacity, so you wish to shrink/and expand/home. In standard partitioning scheme, resizing partitions can be very hard. If LVM is used, adjusting partitions (i.e. logical volumes) can be done but still requires running some commands.For Btrfs, you can create multiple subvolumes in a Btrfs partition for different mount points.
/homeand/will be placed in two subvolumes in the same Btrfs partition, but they can be managed like if they are on two real and different partitions. The coolest thing here is that/homeand/can share the entire Btrfs partition’s space, thus the barrier between them no longer exists, and you will never find the need to shrink one partition to make space for another. -
Btrfs allows you to take snapshots of subvolumes. Snapshots can be sent to another place, effectively allowing full-disk and full-system backups. The snapshots can be taken incrementally, which enables incremental backups that save spaces.
Disclaimer
I will try my best to ensure that the instructions in this post are accurate, but this can never be guaranteed. Before you proceed, please back up all the data you cannot afford to lose, and make sure you are aware of the procedure to correctly recover the backup. I will not be responsible for any data loss and hardware damage, even if they are caused by you accurately following the steps listed in this post.
Overview
The following instructions assume you have already installed a Fedora raw image to a disk, and you can operate on its partitions and files when Fedora on the disk is not running. For example, you can boot into another OS installed at a different location to operate on the Fedora installation from the same computer; or, if the disk is a removable storage device, you can plug it into another computer.
To use Btrfs, these tasks need to be completed:
- Convert the root file system from ext4 to Btrfs
- Modify OS files for the new file system
- Relabel files on the root file system for SELinux
Convert File System to Btrfs
First, find out the device for the root partition of the disk. You may run
lsblk -p to find out the correct device.
$ lsblk -p
NAME        MAJ:MIN RM   SIZE RO TYPE MOUNTPOINT
/dev/sda      8:0    0 232.9G  0 disk
├─/dev/sda1   8:1    0   100M  0 part /boot/efi
├─/dev/sda2   8:2    0   512M  0 part /boot
├─/dev/sda3   8:3    0  71.2G  0 part /home
└─/dev/sda4   8:4    0 161.1G  0 part
/dev/sdb      8:16   0 238.5G  0 disk
├─/dev/sdb1   8:17   0   100M  0 part
├─/dev/sdb2   8:18   0    16M  0 part
├─/dev/sdb3   8:19   0 237.9G  0 part
└─/dev/sdb4   8:20   0 512.3M  0 part
/dev/sdc      8:32   1  29.8G  0 disk
├─/dev/sdc1   8:33   1   600M  0 part /run/media/leo/BD95-A5EF
├─/dev/sdc2   8:34   1     1G  0 part /run/media/leo/f25c31eb-a67b-46bb-a8b6-280
└─/dev/sdc3   8:35   1  28.2G  0 part /run/media/leo/b9c84f8b-74cc-4615-b8bb-59e
/dev/zram0  252:0    0     4G  0 disk [SWAP]
In the output of lsblk, find the disk entry whose size is similar to the disk
containing Fedora installed from the image. In the sample output shown above,
the disk is /dev/sdc. The root partition is the last and largest partition
in the disk, which is /dev/sdc3.
With this information, you are ready to convert the root partition to Btrfs
using the btrfs-convert program. Indicate the device for that partition in
the program’s argument. If the device for the root partition is not shown as
/dev/sdc3 in the output of lsblk, please change the argument accordingly.
In addition, you need superuser privilege to use btrfs-convert, so you might
need to invoke it with sudo.
# btrfs-convert /dev/sdc3
If you see an error saying the device is mounted, simply unmount it with this
command, and run btrfs-convert again:
# umount /dev/sdc3
Modify OS Files
The file system for root partition is now Btrfs. However, because the file system conversion changes the partition’s UUID, operating system files that refer to the root partition by its UUID need to be modified.
Get Partition UUID After the Conversion
You need to get the new UUID in order to update those OS files. To do this,
invoke lsblk -o +UUID.
$ lsblk -o +UUID
NAME   MAJ:MIN RM   SIZE RO TYPE MOUNTPOINT UUID
sda      8:0    0 232.9G  0 disk
├─sda1   8:1    0   100M  0 part /boot/efi  6122-EBE7
├─sda2   8:2    0  71.7G  0 part /home      b2c7f4cf-d75c-4f49-9a24-5f001e30d695
└─sda3   8:3    0 161.1G  0 part            E01A56741A564824
sdb      8:16   0 238.5G  0 disk
├─sdb1   8:17   0   100M  0 part            6CBE-049D
├─sdb2   8:18   0    16M  0 part
├─sdb3   8:19   0 237.9G  0 part            8A36C90E36C8FBE7
└─sdb4   8:20   0 512.3M  0 part            6CA8C978A8C940F6
sdc      8:32   1  29.7G  0 disk
├─sdc1   8:33   1   600M  0 part            3EC1-8F5F
├─sdc2   8:34   1     1G  0 part            5c7fb847-cc50-4d5c-92e8-0aa3ca60cc8d
└─sdc3   8:35   1  28.1G  0 part            368d0ec0-5f81-45f3-8dd1-786bd2e58c52
zram0  252:0    0     4G  0 disk [SWAP]
The UUID of the root partition sdc3 shown in this sample output is
368d0ec0-5f81-45f3-8dd1-786bd2e58c52. The partition UUID on your disk will
be a different one, so please remember to replace this example UUID with the
actual one you get when you are following the instructions below.
Update Partition UUID in OS Files
Once you know the new UUID, you can update the files as instructed below. Here are some things you should be wary of:
-
You need superuser privilege to modify those files, even though they are files that belong to another operating system which is off-line.
-
Make sure you are not editing the files of the currently running system. Do not use absolute paths like
/etc/fstabif you are editing the files from a terminal. -
Since the root partition was unmounted for Btrfs conversion before, you should remount it to edit files in it. For example:
# mkdir /mnt/rootfs
# mount /dev/sdc3 /mnt/rootfs
The modifications are:
-
etc/fstabunder root partitionEdit the entry for
/as follows:- Update UUID
- Change file system type from
ext4tobtrfs - Change the last two numbers at the end of line to
0 0
- UUID=80ddf2b2-a7c5-4e16-b520-b41a3d4feb3d / ext4 defaults 1 1 + UUID=368d0ec0-5f81-45f3-8dd1-786bd2e58c52 / btrfs defaults 0 0 UUID=5c7fb847-cc50-4d5c-92e8-0aa3ca60cc8d /boot ext4 defaults 1 2 UUID=3EC1-8F5F /boot/efi vfat umask=0077,shortname=winnt 0 2 -
Any
.conffile under theloader/entriesdirectory in the partition for/boot, which is the second partition on the disk:Change the value after
root=UUID=underoptionstitle Fedora (5.8.15-301.fc33.aarch64) 33 (Thirty Three) version 5.8.15-301.fc33.aarch64 linux /vmlinuz-5.8.15-301.fc33.aarch64 initrd /initramfs-5.8.15-301.fc33.aarch64.img - options root=UUID=80ddf2b2-a7c5-4e16-b520-b41a3d4feb3d ro rhgb quiet console=tty0 + options root=UUID=368d0ec0-5f81-45f3-8dd1-786bd2e58c52 ro rhgb quiet console=tty0 grub_users $grub_users grub_arg --unrestricted grub_class kernelPlease make sure the
/bootpartition is mounted too before editing this file. If the root partition is/dev/sdc3, then this partition will be/dev/sdc2.If you have updated the Linux kernel before, there will be multiple
.conffiles underloader/entries, each for a single kernel version. You may choose to edit only one of them, like the one for the latest kernel for example, as long as you do not boot into other kernels whose.conffile is not modified.
Relabel File System for SELinux
The pointers to the root file system are updated, but at this stage, the system boot process still cannot complete because of issues with SELinux.
To resolve the issue, trigger a relabeling of files in the root file system by
creating a file .autorelabel directly under the root file system:
# touch .autorelabel
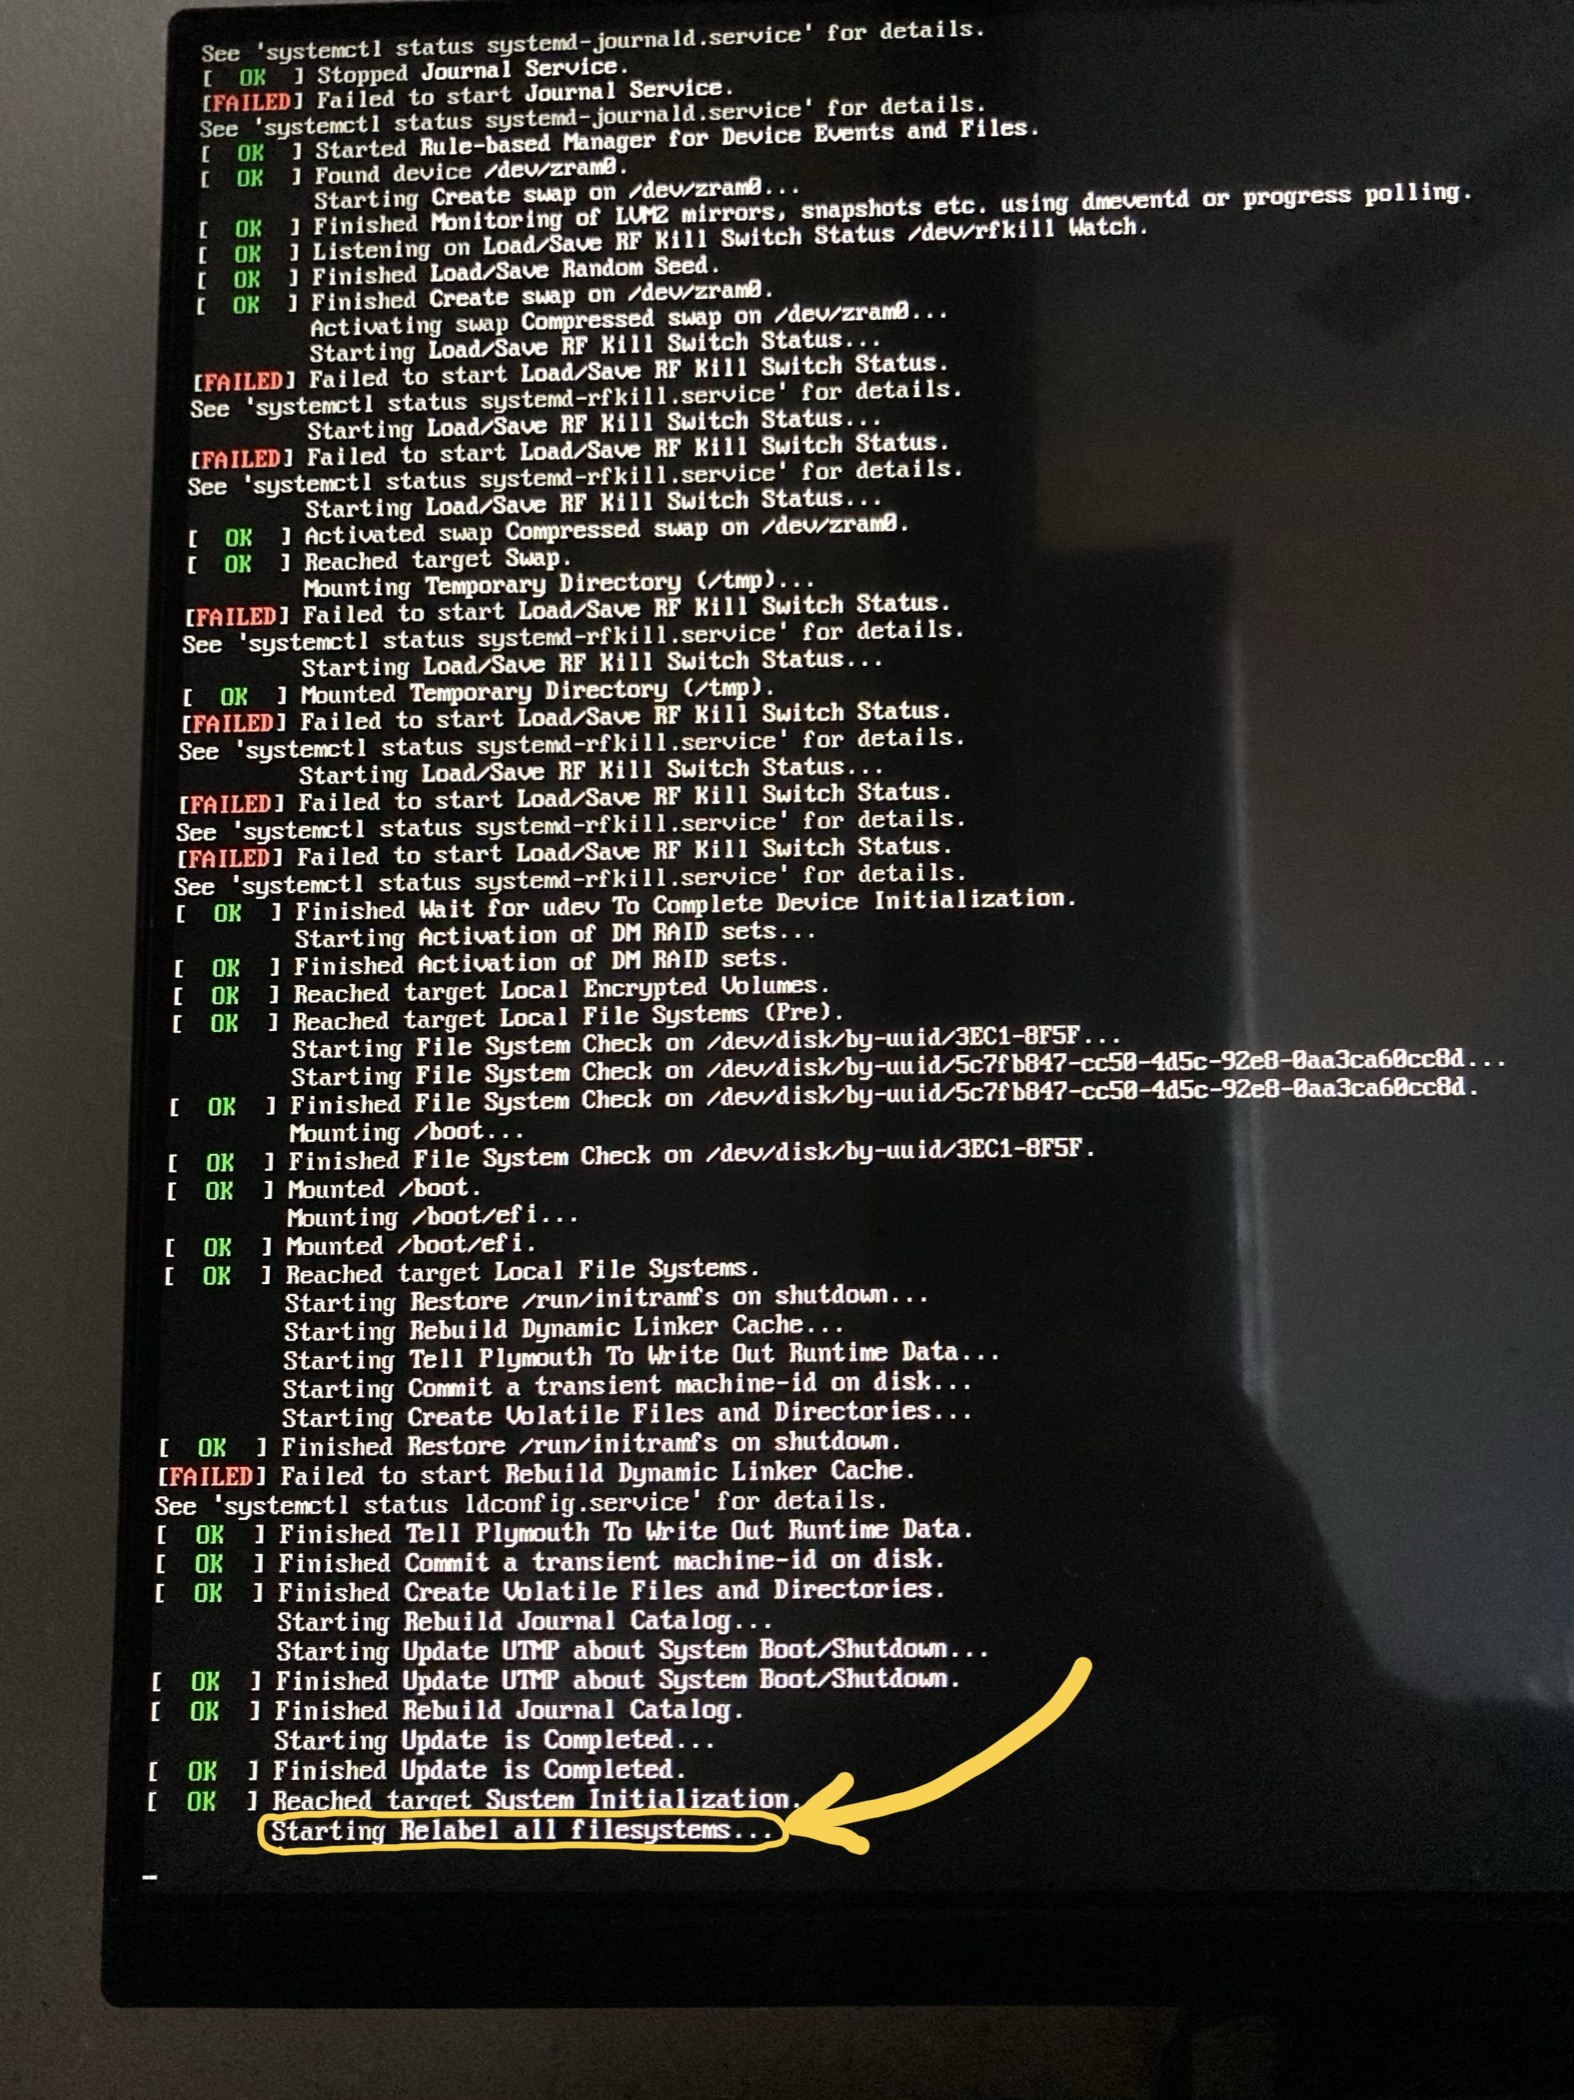
The operating system, now residing in a Btrfs partition, is ready to boot at
this moment. On the first boot after the file system conversion, you might see
some systemd units that are failed to start, which is OK for the first time.
Then, you should find a Starting Relabel all filesystems message, and this is
when the files are being relabeled for SELinux.
This process may take a while. On my Raspberry Pi 4, it would take a few minutes to relabel all files in a fresh Fedora installation. After it completes, the system reboots automatically and should no longer emit errors when booting.
Enjoy Fedora installed from raw image on Btrfs!