Build the Same LaTeX Input File Differently According to Command-Line Options
You might have encountered situations where you would like to produce different versions of the same document or create several related documents from a single source, such as:
-
All your document versions have exactly the same content, but each version is formatted differently. Example: In parallel with a standard version of your document, you might also want to create a more accessible version of it that uses a larger font size.
-
All your document versions have the same set of contents, but each version orders the contents differently. Example: When you are preparing your curriculum vitae for different types of job positions, you might want to create one version for researcher positions where you list your publications before your teaching experience, and another version for teaching positions with the opposite ordering.
-
You are creating several documents whose contents are different but still related. Example: You are writing a textbook with exercise questions, and you want to provide a separate answer booklet for those questions. Because the questions and answers are coupled with each other, you want to keep the questions and answers in the same source file for your textbook, so if you wish to modify the questions in the future, you can also conveniently update the answers at the same place.
If you are creating your documents using LaTeX, then you have good news: it is easy to accomplish all these goals in LaTeX. However, if you have already tried to do any of these things in LaTeX, you might have had to modify your document’s LaTeX input file every time before compiling a different document version.
This article will introduce some approaches to these goals that do not
require modifying the LaTeX input file every time. In these approaches, a
different document version can be compiled by just specifying different build
options in the shell command that compiles the LaTeX input file. This is
possible thanks to the fact that LaTeX (as well as TeX) allows us to write our
documents like code using if-else constructs and packages. This is analogous
to compiling a software package, where users can specify different build
system command-line options to control whether a debug build or a release
build is being made, which optional package features are enabled, etc.
Using Different Job Names
In TeX, the job name determines the base name of TeX typesetter output
files. When LaTeX (and, in turn, TeX) compiles a file as input, the default
job name is the input file’s base name. For example, the default job name for
input file main.tex is main. This is why the output files’ default
filenames are like main.aux and main.pdf.
A different job name can be specified to let TeX name the output files with a
base name different from the input file’s one. For instance, each of the
following commands sets the job name to foo, so even if the input filename is
main.tex, the output filenames become foo.aux, foo.pdf, etc.
$ pdflatex -jobname foo main.tex
$ latexmk -jobname=foo -pdf main.tex
In TeX input, the job name can be read using the \jobname command. A LaTeX
input file can parse the value of \jobname and then use if-else logic to
take different actions for different values. This allows a LaTeX input file’s
build options to be implemented based on the job name. Because the job name
can be specified via command-line, this strategy effectively allows
command-line options to influence how a LaTeX document is built.
Example: Conditionally Output Question Answers
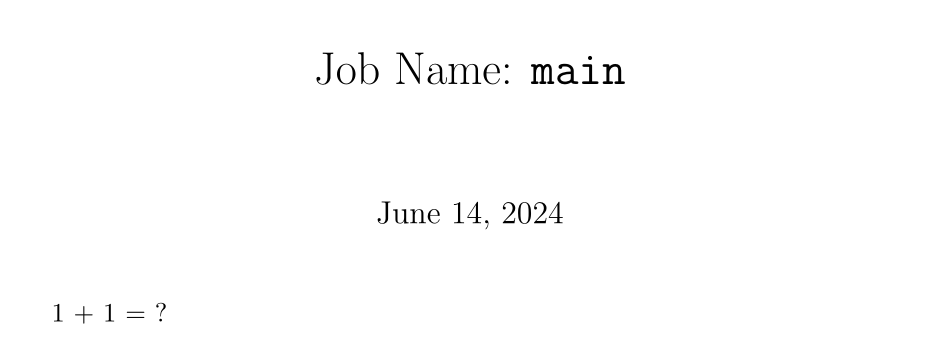
The following example demonstrates how a LaTeX input file (with filename
main.tex) can use the job name to determine what content to include in the
output. The goal being accomplished is to print a question’s answer if and
only if the job name ends with substring -answers. To demonstrate how the
\jobname command works, the example also includes its value in the document’s
title.
% main.tex
\documentclass{article}

\newcommand{\answer}[1]{}
\usepackage{xstring}
\IfEndWith*{\jobname}{-answers}{\renewcommand{\answer}[1]{\textbf{Answer:} #1}}

\begin{document}

\title{Job Name: \texttt{\jobname}}
\maketitle

1 + 1 = ?  \answer{2.}

\end{document}
When the job name is unspecified like in the shell commands below, the answer
is not included in the output because the default job name for input file
main.tex is main, which does not end with -answers.
$ pdflatex main.tex
$ latexmk -pdf main.tex
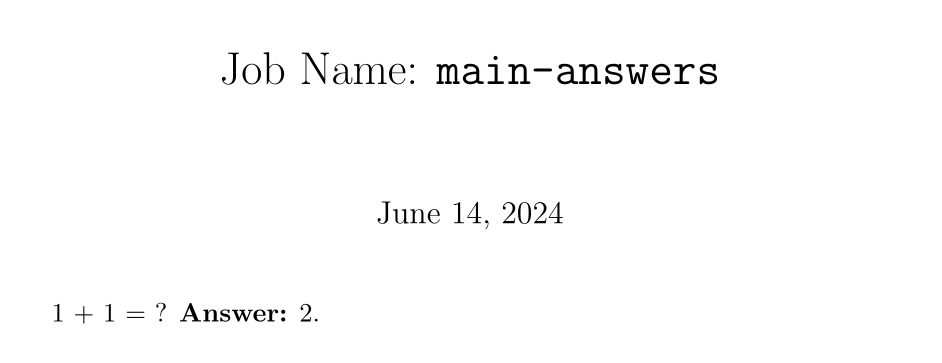
If the job name is main-answers instead, then the answer is included in the
output. Note that with Latexmk, when specifying the job name, the %A
placeholder can be used to represent the input file’s base name if desired,
which is more convenient.
$ pdflatex -jobname main-answers main.tex
$ latexmk -jobname=%A-answers -pdf main.tex
In addition, note that because different job names were used, the PDF output
file with answers will be called main-answers.pdf and be separate from the
first PDF output file without answers – main.pdf. This helps make it easier
to identify document versions and reduce the odds of distributing a wrong
document version – like, accidentally publishing the PDF with answers when the
answers should be kept confidential. If the job name was never specified, then
the PDF output file would be called main.pdf for both document versions.
$ ls
main-answers.aux
main-answers.log
main-answers.pdf
main.aux
main.log
main.pdf
main.tex
Example: Using the jobname-suffix Package
Because the jobname-suffix package was released in 2022, it might be shipped
with recent TeX distributions only, such as TeX Live 2023 and later. This
package also requires LaTeX3 support, which should nevertheless be available
with recent TeX distributions.
The jobname-suffix package on CTAN provides convenient
LaTeX commands for reading the job name suffix and performing different actions
based on different suffixes. The following example uses this package to
conditionally output question answers like the previous example:
\documentclass{article}

\newcommand{\answer}[1]{}
\usepackage{jobname-suffix}
\IfSuffixT[answers]{\renewcommand{\answer}[1]{\textbf{Answer:} #1}}

\begin{document}

1 + 1 = ?  \answer{2.}

\end{document}
For more information about using this package, please refer to its documentation.
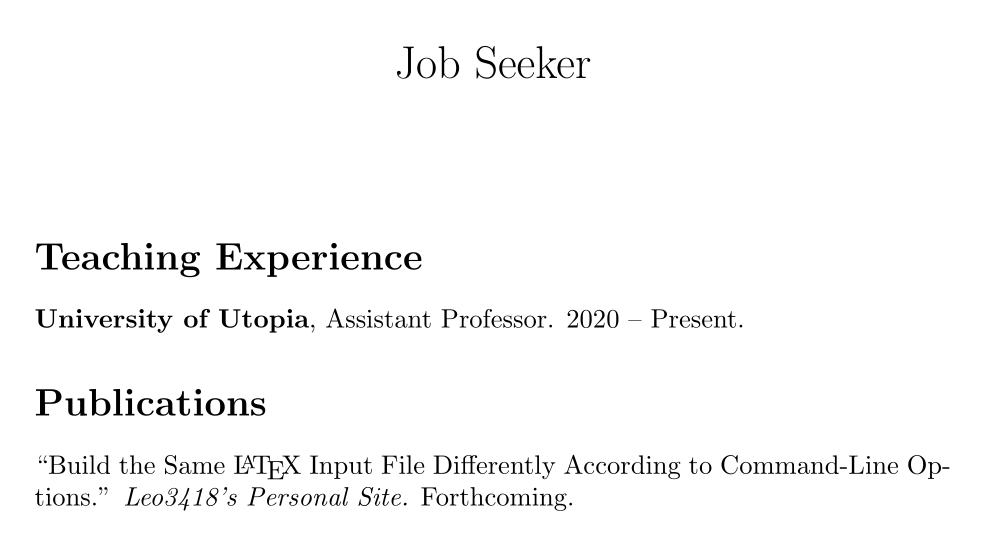
Example: Reorder Content
The following example demonstrates how a LaTeX input file (with filename
cv.tex) can use the job name to determine the order of content elements. It
is a mini curriculum vitae (CV) with two sections: Publications and Teaching
Experience. The goal here is to let Publications appear before Teaching
Experience if the job name ends with substring -research so the resulting CV
version is tailored to research positions, and to let Teaching Experience
appear before Publications if the job name ends with -teaching for teaching
positions. Except the ordering of sections, the two CV versions’ content
should have no other difference.
To avoid repeating CV content in the LaTeX input file, each aforementioned CV section’s content is put into a LaTeX command’s definition. Then, the two LaTeX commands for the two CV sections are called in different order based on the job name, so the sections’ order in the output changes with the job name.
% cv.tex
\documentclass{article}

\usepackage{xstring}
\StrBehind{\jobname}{-}[\version] % Store the substring to the `\version' macro

\begin{document}

\title{Job Seeker}
\date{}
\maketitle

\newcommand{\publications}{
    \section*{Publications}

    ``Build the Same \LaTeX{} Input File Differently According to Command-Line
    Options.''  \textit{Leo3418's Personal Site.}  Forthcoming.
}

\newcommand{\teachingexperience}{
    \section*{Teaching Experience}

    \textbf{University of Utopia}, Assistant Professor.  2020 -- Present.
}

% Define document versions
\IfStrEq*{\version}{research}{
    \publications
    \teachingexperience
}{}
\IfStrEq*{\version}{teaching}{
    \teachingexperience
    \publications
}{}

\end{document}
Each command below builds the CV version tailored to research positions:
$ pdflatex -jobname cv-research cv.tex
$ latexmk -jobname=%A-research -pdf cv.tex
And the output is as follows:

Same things for the version tailored to teaching positions:
$ pdflatex -jobname cv-teaching cv.tex
$ latexmk -jobname=%A-teaching -pdf cv.tex
Using an Arbitrary Number of Command-Line Options
If the build options for a LaTeX input file are too complicated to be implemented through job name parsing, or the input file has so many build options that the job name could become inconveniently long, then an alternative approach based on LaTeX commands can be used instead.
A TeX typesetter program can compile either an input file directly, which is
the most common usage, or control sequences specified in its command-line
arguments, which may produce an output file even when an input file does not
exist. One example is the command below, which uses only control sequences and
no input file to produce an output file named texput.pdf with content hello, world:
$ pdflatex '\documentclass{article} \begin{document} hello, world \end{document}'
When an input file exists, control sequences can still be used in the
command-line arguments to let a TeX typesetter program compile the file. For
example, the following command is equivalent to pdflatex main.tex:
$ pdflatex '\input{main.tex}'
Additional control sequences can be added before \input, which is effectively
equivalent to adding those control sequences to the top of the file specified
in \input. This way, those control sequences can influence how the LaTeX
document is built. For example, for LaTeX input file main.tex that is
assumed to use \documentclass{article}, the following command sets the
document’s normal font size to 12 points without modifying main.tex:
$ pdflatex '\PassOptionsToClass{12pt}{article} \input{main.tex}'
The Latexmk command equivalent to the above pdflatex command is shown below.
With Latexmk, the LaTeX input filename can be specified directly and separately
without being wrapped in the \input TeX command. The -g flag for Latexmk
is included to force the document to be recompiled with the new -usepretex
code; otherwise, Latexmk might do nothing if the input file has not been
modified after the last compilation even if the -usepretex option has a
different value.
$ latexmk -g -usepretex='\PassOptionsToClass{12pt}{article}' -pdf main.tex
Therefore, specifying such “pre-TeX” control sequences is another strategy to influence how a LaTeX document is built via command-line. However, this strategy per se might seem to be limited because it can add control sequences only before or after the LaTeX input file, not somewhere inside the file body, so it might seem to be unable to control the document’s content. This limitation can be resolved by explicitly defining the LaTeX input file’s build options with LaTeX commands, then using those LaTeX commands in the input file body to control the content.
For instance, suppose someone wants to create a LaTeX input file main.tex
with these build options:
\normalfontsize: The font size for\normalsize. Default: 10 points.\printanswers: Whether question answers should be included in the output. A non-empty string value means true, and an empty string means false. Default: false.
Then, the following main.tex file may be written to support these build
options. Note that each build option has a corresponding LaTeX command, and
each build option’s default value is the corresponding LaTeX command’s
definition. The \providecommand control sequence is used instead of
\newcommand; the reason for this will be explained later.
% main.tex
\providecommand*{\normalfontsize}{10pt} % Build option with a default value
\providecommand*{\printanswers}{} % Boolean option: Print answers if and only if not empty

\documentclass{article}

\usepackage{fontsize}
\changefontsize{\normalfontsize}

\newcommand{\answer}[1]{}
\usepackage{etoolbox}
\ifdefempty{\printanswers}{}{\renewcommand{\answer}[1]{\textbf{Answer:} #1}}

\begin{document}

1 + 1 = ?  \answer{2.}

\end{document}
To produce the LaTeX document using the default build options (in this case,
10-point font and no answers), compile main.tex as usual:
$ pdflatex main.tex
$ latexmk -pdf main.tex

To set the font size to 12 points, override the definition of \normalfontsize
to 12pt in “pre-TeX” code:
$ pdflatex '\newcommand\normalfontsize{12pt} \input{main.tex}'
$ latexmk -g -usepretex '\newcommand\normalfontsize{12pt}' -pdf main.tex
Here lies the reason why main.tex must use \providecommand instead of
\newcommand for the \normalfontsize command’s default definition. TeX
processes the \newcommand control sequence in the “pre-TeX” code before the
\providecommand control sequence in main.tex; \providecommand does not
throw an error when the command being defined already exists, so in this case,
no errors occur. However, if \newcommand is used in both the “pre-TeX” code
and main.tex, then the second \newcommand in main.tex would cause an
error because \newcommand cannot create a command that already exists.
With this build option, the text becomes larger in the output:

Multiple build options can also be specified, and in this particular example, the build options’ order in the “pre-TeX” code does not matter. Every command below produces the same output, with both larger text and the question’s answer included:
$ pdflatex '\newcommand\normalfontsize{12pt} \newcommand\printanswers{1} \input{main.tex}'
$ pdflatex '\newcommand\printanswers{1} \newcommand\normalfontsize{12pt} \input{main.tex}'
$ latexmk -g -usepretex '\newcommand\normalfontsize{12pt} \newcommand\printanswers{1}' -pdf main.tex
$ latexmk -g -usepretex '\newcommand\printanswers{1} \newcommand\normalfontsize{12pt}' -pdf main.tex
