Slipstream Windows NT 4.0 SP6a into Installation Media
Microsoft has once released official Windows installation media with a service pack integrated, such as Windows Vista with SP1 and Windows XP with SP2. The process of integrating a service pack into the installation media is called slipstreaming. By using such a slipstreamed media, users need not install the slipstreamed service pack separately after they have installed Windows.
For Windows NT 4.0 Workstation, the latest slipstreamed official installation media that can be found online only have SP1, whereas the latest service pack for Windows NT 4.0 is SP6a. This is unlike Windows 2000, XP, Vista, or 7, all of which have official installation ISOs with the latest available service pack slipstreamed.
An unofficial Windows NT 4.0 Workstation installation ISO with SP6a slipstreamed created by an enthusiast does exist. However, some users might not prefer it:
-
Users who look for installing Windows NT 4.0 Server obviously cannot use the Workstation edition’s ISO.
-
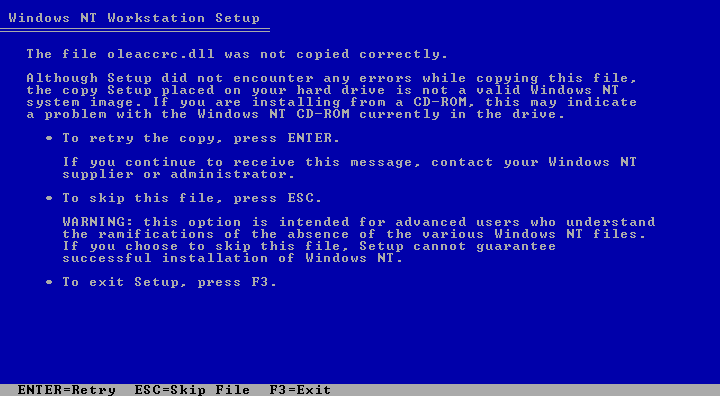
Setup will report a “The file oleaccrc.dll was not copied correctly” message (as shown below). It seems that the message can be safely dismissed by pressing Esc, and the issue reported does not seem to affect the installed system. However, some users might prefer to have zero warning messages during Setup.
-
Some users might be relunctant to trust a modified Windows installation ISO made by an individual user online whom they do not know.
In response, this tutorial provides readers with instructions to build their
own Windows NT 4.0 installation ISO with SP6a slipstreamed, and the
slipstreamed ISO built with this method will not emit the oleaccrc.dll
message during Setup.
Compatibility
Users will need to run some tools to slipstream a service pack into an installation ISO. The tools’ system requirements are:
-
To avoid the
oleaccrc.dllSetup message, the latest Windows version on which the tools can run is Windows XP. Windows Vista and later versions are not compatible with the tool that fixes theoleaccrc.dllmessage.- The author has only verified this tool’s functionality on a 32-bit edition of Windows XP, not 64-bit.
-
Users who do not care about the
oleaccrc.dllmessage can use Windows Vista or later versions, as well as Windows XP. The author has verified the other tools’ functionality on a 32-bit edition of Windows XP, a 32-bit edition of Windows Vista, and both a 32-bit edition and a 64-bit edition of Windows 10.
The slipstreaming tools support English versions of Windows NT 4.0. The tools do not support all languages: for example, the author has confirmed that they do not work for Simplified Chinese versions. Although the tools can generate an Simplified Chinese installation ISO, the system installed from the ISO does not actually have SP6a integrated. The tools might support more languages, but the author has not tested the tools on other languages.
The tools support both Workstation and Server editions of Windows NT 4.0 as per their documentation, and they support slipstreaming SP6 or SP6a. The author has verified that the tool can slipstream SP6a into the official Windows NT 4.0 Workstation with SP1 English installation media.
Known Limitations
Setup Will Lack Large Disk Support
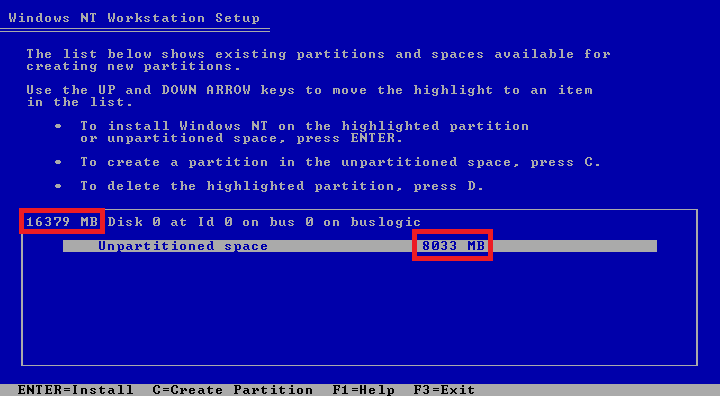
Even after slipstreaming SP6a, Windows NT 4.0 Workstation Setup still might not recognize disk space beyond 8 GB. For a new disk larger than 8 GB, Setup might only show 8 GB of unpartitioned space, despite the fact that SP4 added support for disks larger than 8 GB.
According to Microsoft Knowledge Base article 197667, the correct solution to this issue is to let Setup separately load the updated IDE driver from SP4. After all, the slipstreaming process only applies the service pack to the installed system, not the minimal version of Windows that runs the text-mode portion of Setup. Attentive users may notice that, while the text-mode portion is starting, the build version string shown on the boot splash screen does not contain a service pack version.
AUTOCHK Before Conversion to NTFS
After the text-mode portion of Setup finishes and reboots the computer, and during the first reboot, if the user chose to format the Windows NT 4.0 partition using NTFS, the boot splash screen may show this message before converting the file system to NTFS:
WARNING!  Your drive may be corrupt.  Please let AUTOCHK run.
Skipping AUTOCHK on a volume may lead to an unmountable volume.
Skipping AUTOCHK on a system drive may lead to an unusable system.
Press any key in <X> seconds to abort AUTOCHK.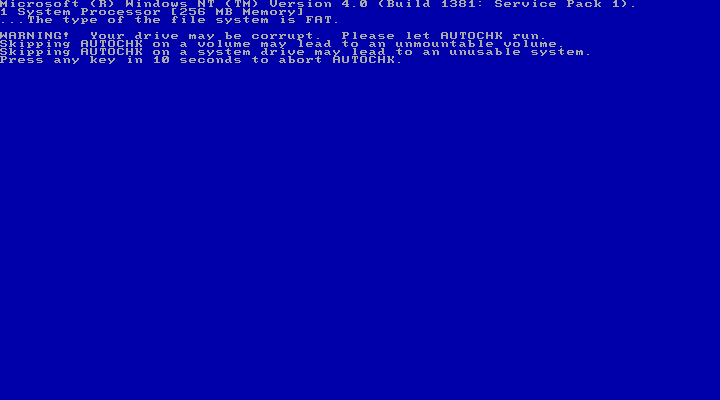
(Tip: Regardless of which file system the user chooses, Windows NT 4.0 Setup will always format the partition with FAT first; if the user chooses NTFS, Setup will convert the file system to NTFS upon the first reboot.)
The user can let AUTOCHK run and fix any file system issues by not doing anything when this message is displayed. Regardless of whether AUTOCHK is skipped, this warning does not seem to affect the installed system.
Instructions
-
Click here to download the NT 4 Alive slipstream script, the main tool for slipstreaming.
-
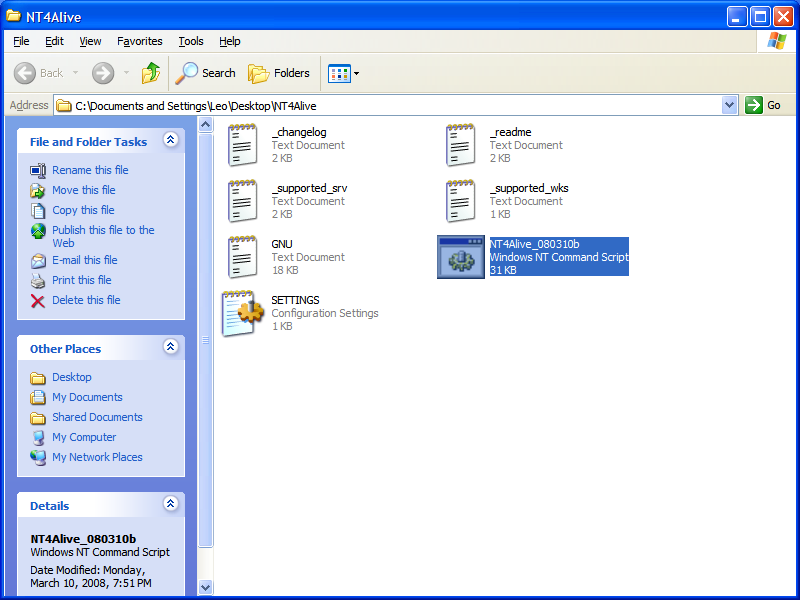
Extract the downloaded Zip file into a folder, and open this folder.
-
Run the script
NT4Alive_080310b.cmd. In the script’s window, press Enter.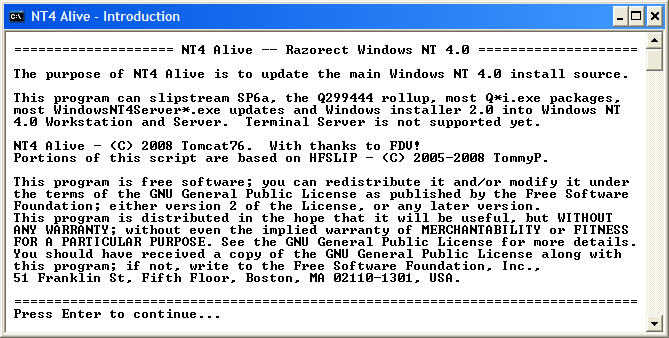
Upon the first run, the script will immediately exit after creating some new folders under the folder it is in, including
PACKAGES,SOURCE, andTOOLS. In the subsequent steps, readers will copy different types of files into these folders.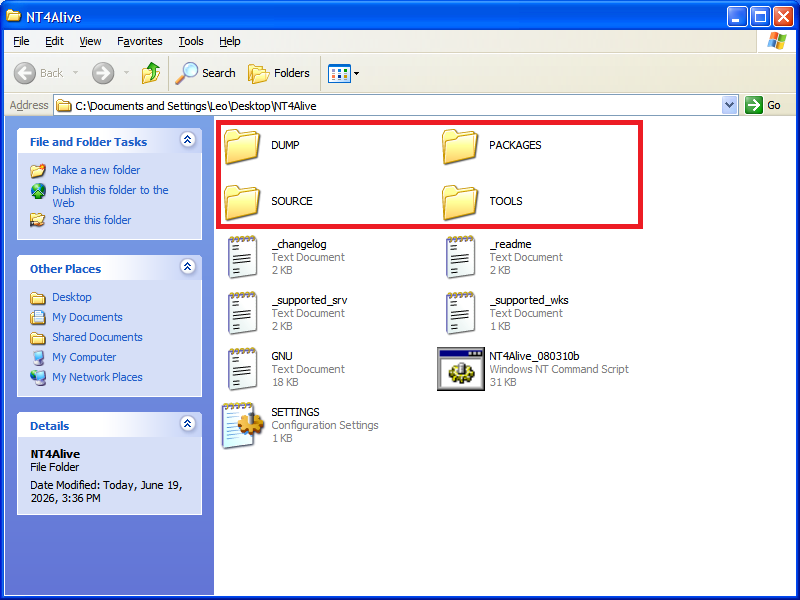
-
For readers who would like to avoid the
oleaccrc.dllSetup message, click here to download a Zip file that containsmodifype.exe, a tool that NT 4 Alive needs to fixoleaccrc.dll, as indicated by NT 4 Alive’s_readme.txtfile. This tool is not easy to find online; the best source that the author identified was this page.Readers who do not care about the
oleaccrc.dllSetup message can skip downloading this file. -
For those who downloaded the Zip file, extract
modifype.exein it to theTOOLSfolder that the NT 4 Alive script created. -
Click here to download a Zip file that contains
CDIMAGE.EXE, a tool that NT 4 Alive can use to create bootable slipstreamed ISOs. This tool is also not easy to find online; the best source that the author identified was this Internet Archive item. -
Extract
CDIMAGE.EXEin the downloaded Zip file to theTOOLSfolder that the NT 4 Alive script created. -
Copy the
SETTINGS.INIconfiguration settings file of NT 4 Alive, which is under the same folder whereNT4Alive_080310b.cmdis, to theTOOLSfolder. -
Edit the new
SETTINGS.INIin theTOOLSfolder, and make these changes to it:- Append
YESafterCREATE_ISO= - Append
CDIMAGEafterISO_TOOL=
The resulting content of
SETTINGS.INIwill be:; SKIPINTRO, FULLAUTO or nothing RUNMODE= ; ISO CREATE_ISO=YES ISO_TOOL=CDIMAGE ISO_FILE_NAME=NT40_SP6.iso ISO_VOLUME_LABEL=NT40_SP6 CDIMAGE_SWITCHES=-h -j1 -m -o MKISOFS_SWITCHES=-relaxed-filenames -d -D -N -J -no-emul-boot -no-iso-translate -boot-load-size 4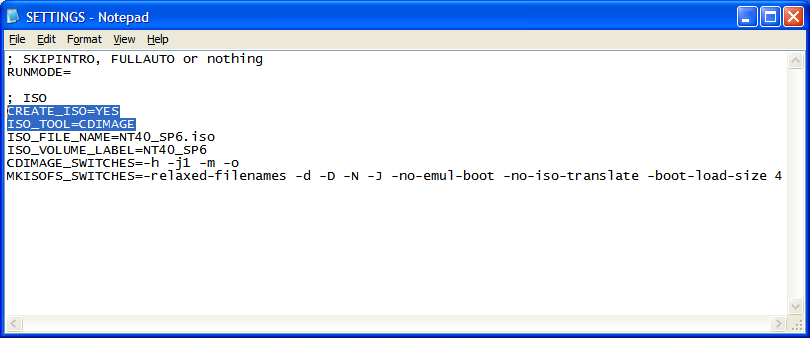
- Append
-
Download and install 7-Zip if it is not installed. It will be used to extract files as well as boot information from an ISO.
-
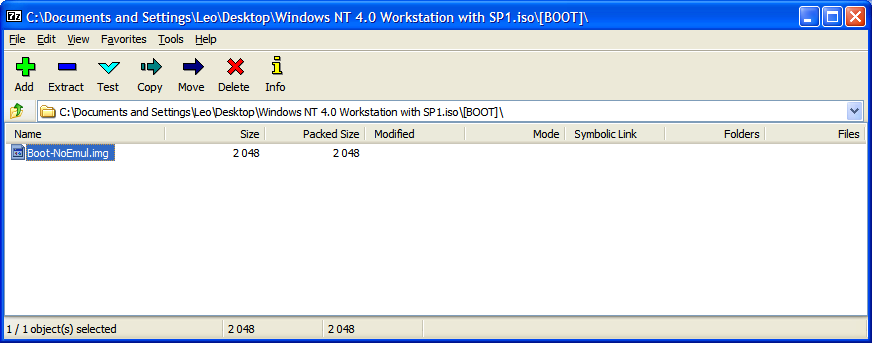
Use 7-Zip to open an original Windows NT 4.0 installation ISO, enter the
[BOOT]folder, and extract the fileBoot-NoEmul.imgto theTOOLSfolder that the NT 4 Alive script created. This file contains the ISO’s boot information, whichCDIMAGE.EXEwill need to create a bootable slipstreamed ISO.![The [BOOT] folder shown in 7-Zip](/img/posts/2026-06-20-slipstream-winnt4-sp6a/11-1.png)
-
Rename
Boot-NoEmul.imgtoboot.bin, which is the file name that NT 4 Alive expects. Ensure the file’s extension is changed to.bin. If necessary, let Windows Explorer show extensions for known file types.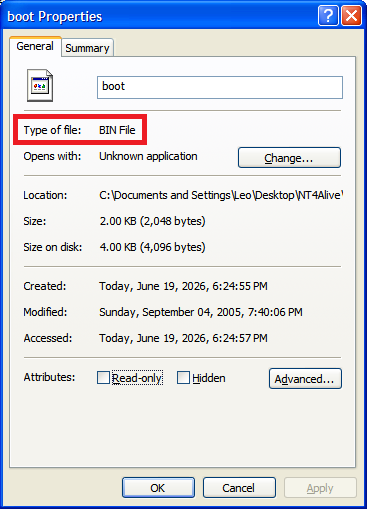
-
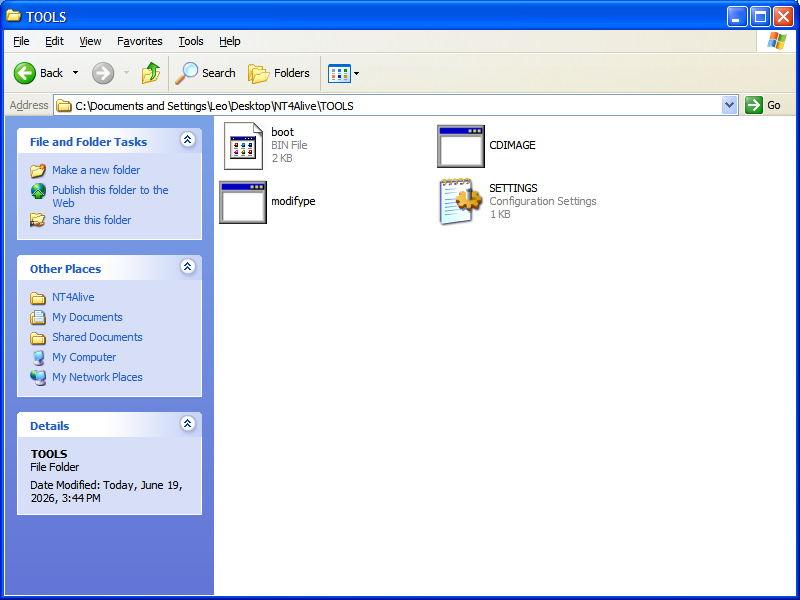
The
TOOLSfolder created by the NT 4 Alive script should now contain the following files. Before proceeding to the next step, confirm that all these files exist.boot.binCDIMAGE.EXEmodifype.exe(optional; only needed when theoleaccrc.dllSetup message should be avoided)SETTINGS.INI
-
Use 7-Zip to open the original Windows NT 4.0 installation ISO, then extract all files and folders except the
[BOOT]folder to theSOURCEfolder that the NT 4 Alive script created.![Everything except The [BOOT] folder shown in 7-Zip](/img/posts/2026-06-20-slipstream-winnt4-sp6a/14.png)
-
Put the EXE file for Windows NT 4.0 SP6 or SP6a into the
PACKAGESfolder that the NT 4 Alive script created, and rename the file tosp6i386.exe. Either SP6 or SP6a can be used. In the case of SP6a, also use thesp6i386.exefile name. -
Run
NT4Alive_080310b.cmdagain, and press Enter in the script’s window. If all the required files have been copied to their correct folders, the script will now start to slipstream the service pack and create the slipstreamed ISO.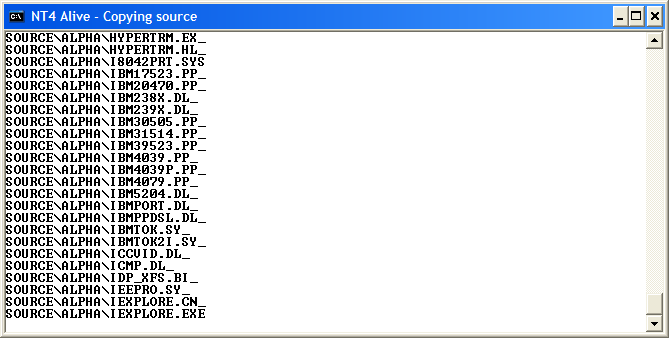
-
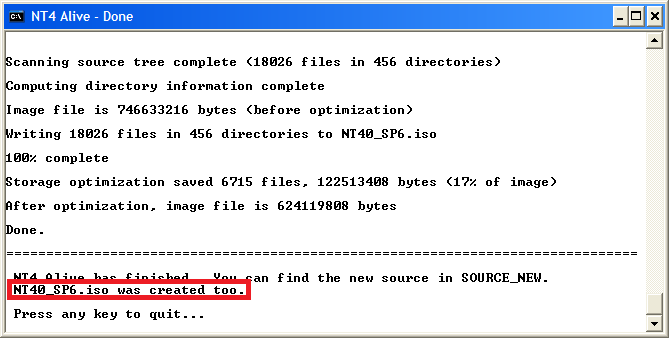
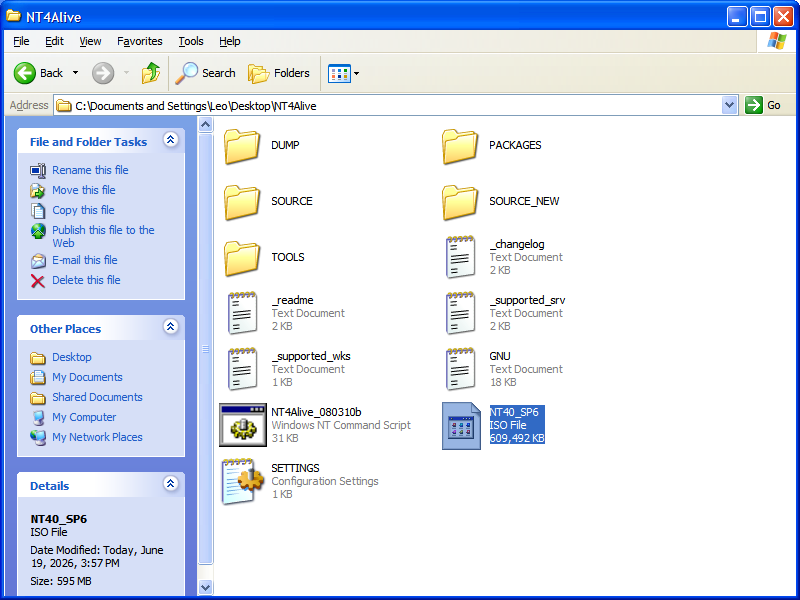
If
CDIMAGE.EXE,SETTINGS.INI, andboot.binhave been prepared properly, then when the script finishes, the slipstreamed ISO can be found asNT40_SP6.isounder the same folder whereNT4Alive_080310b.cmdis. The script will print a message saying “NT40_SP6.iso was created too.”