Use Cygwin’s Shell or Git Bash in Windows Terminal
Recently, Microsoft has made the first stable release of Windows Terminal, a
new terminal program for Windows 10. Windows Terminal allows you to add and use
multiple shells, like Windows PowerShell, the old command prompt, and any shell
in your Windows Subsystem for Linux (WSL) environments. It also provides way
more features and customization options than the old Windows console host
conhost.exe, which has been used for command prompt and WSL.
This post will instruct you to add other shell executables to Windows Terminal, such as the shell you installed for Cygwin or Git Bash if you have Git for Windows. By doing this, you can access a Unix shell and potentially other Unix programs within Windows Terminal without the need for WSL.
The main purpose of this post is to show you how to use your Cygwin installation or Git Bash in Windows Terminal if you happen to have them installed. It is not intended to recommend Cygwin or Git Bash as WSL alternatives, though if you are interested, you may definitely try them.
The steps for Cygwin and Git Bash slightly differ, so I will first introduce the method for Cygwin, then mention what is different in the method for Git Bash.
Steps for Cygwin
For the following steps, it is assumed that you have Bash installed in Cygwin. It should be possible to use other shells, but your configuration file will look differently from what is shown here, so please pay attention to that.
-
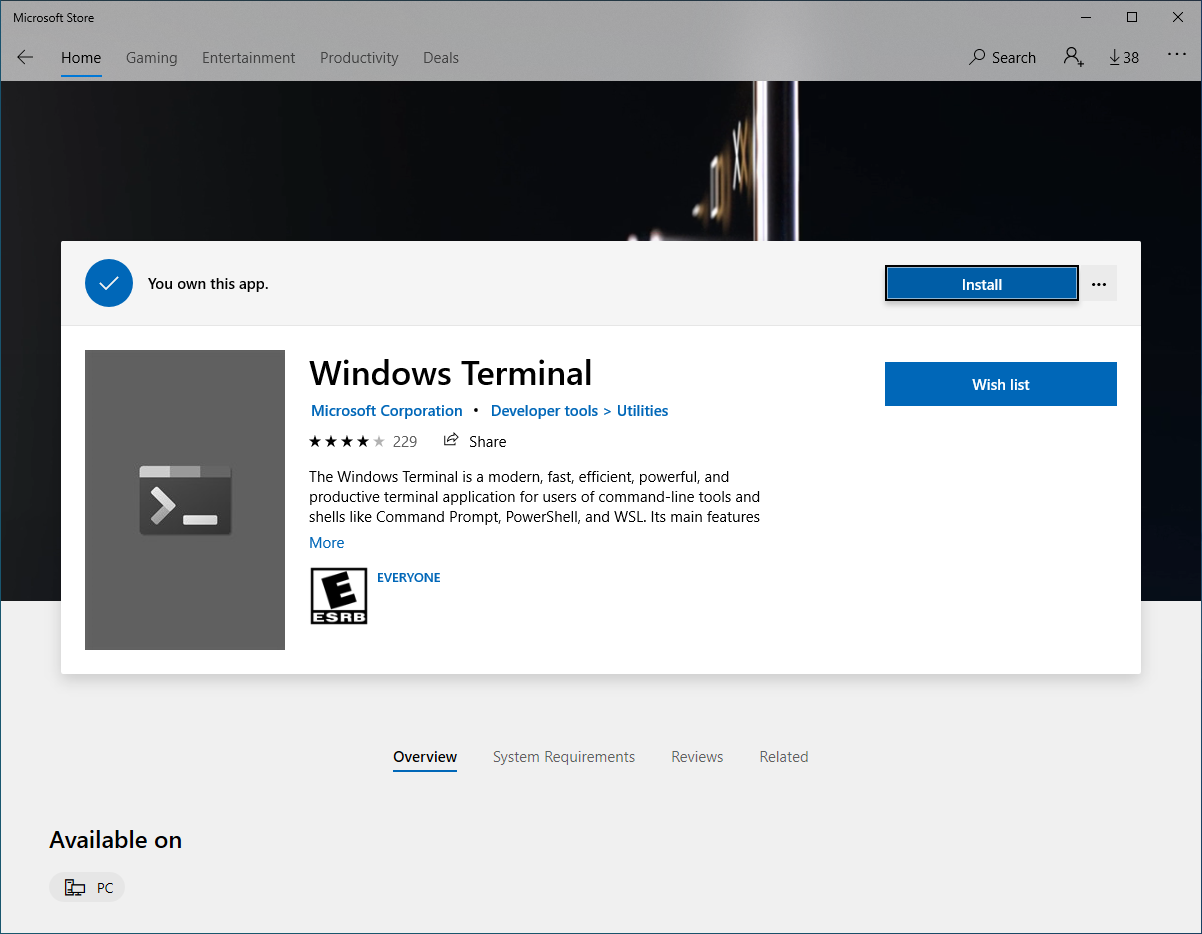
Download Windows Terminal from Microsoft Store.
-
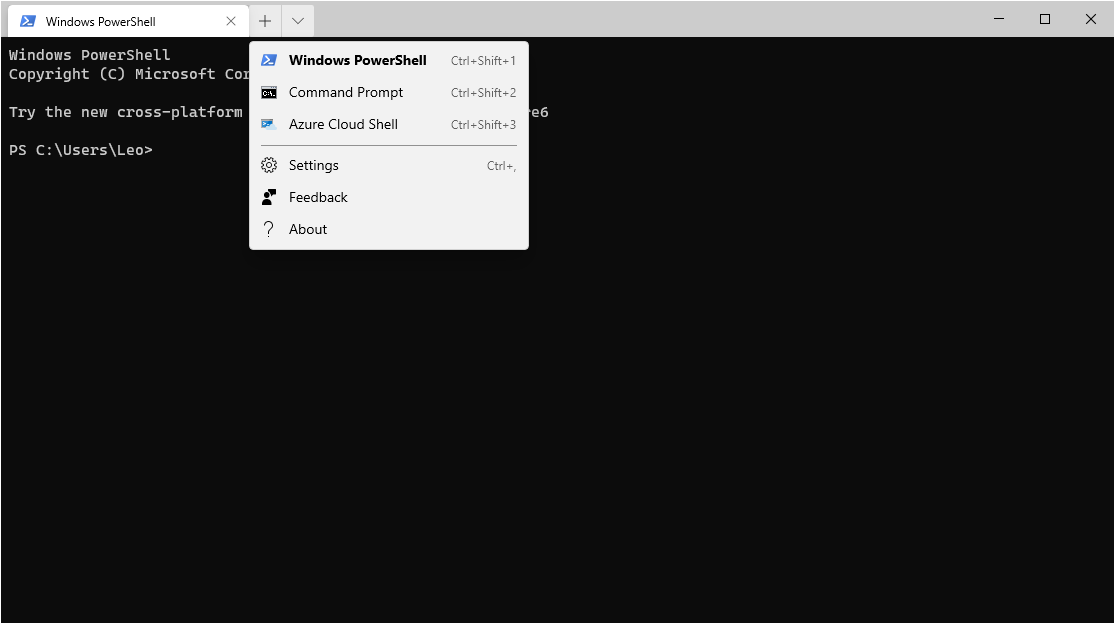
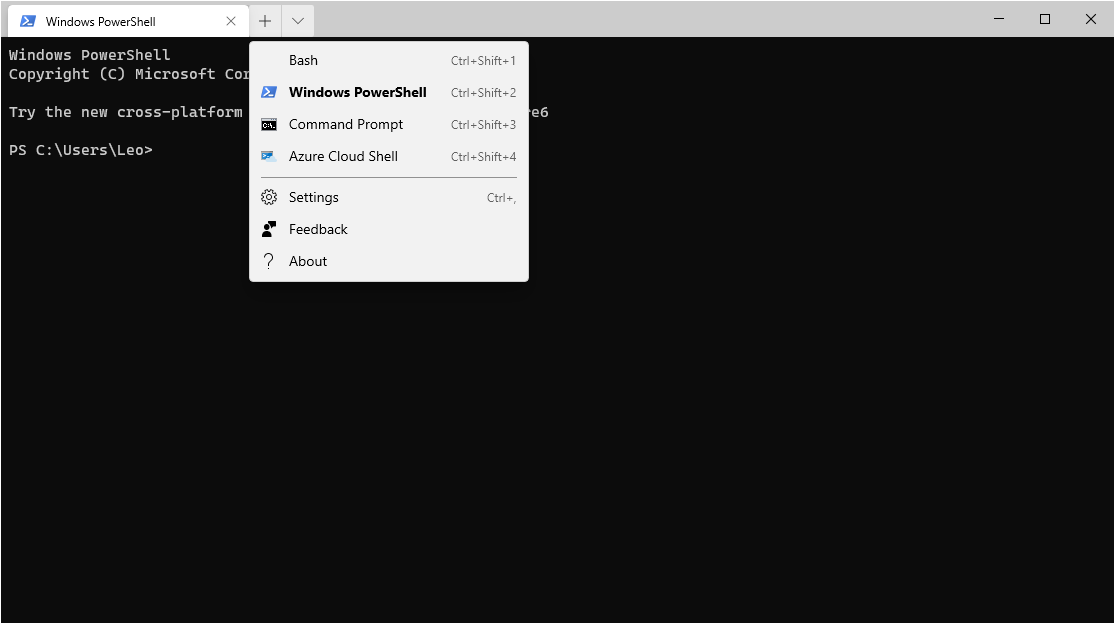
Open Windows Terminal. You can find the button that opens the drop-down menu on the top, and the menu contains multiple profiles. We will create a new profile for Cygwin’s shell.
-
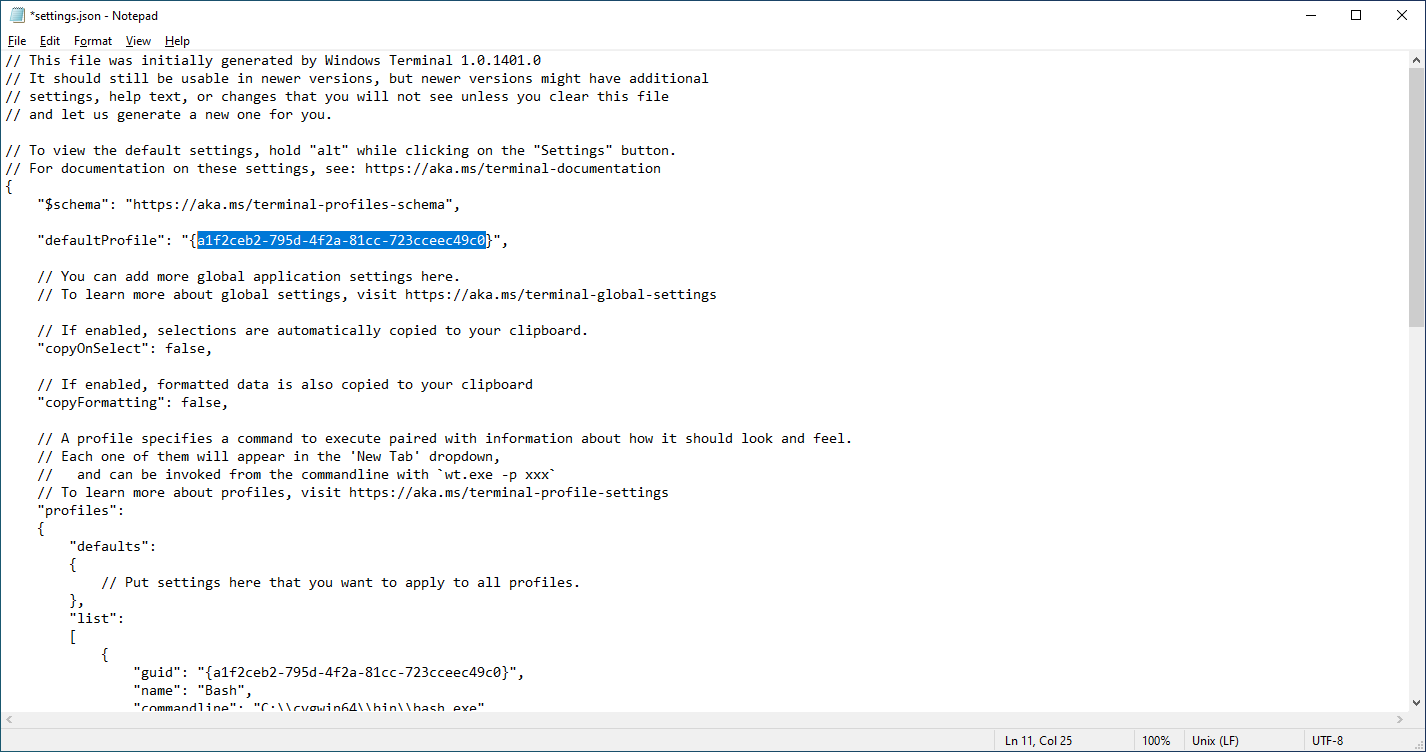
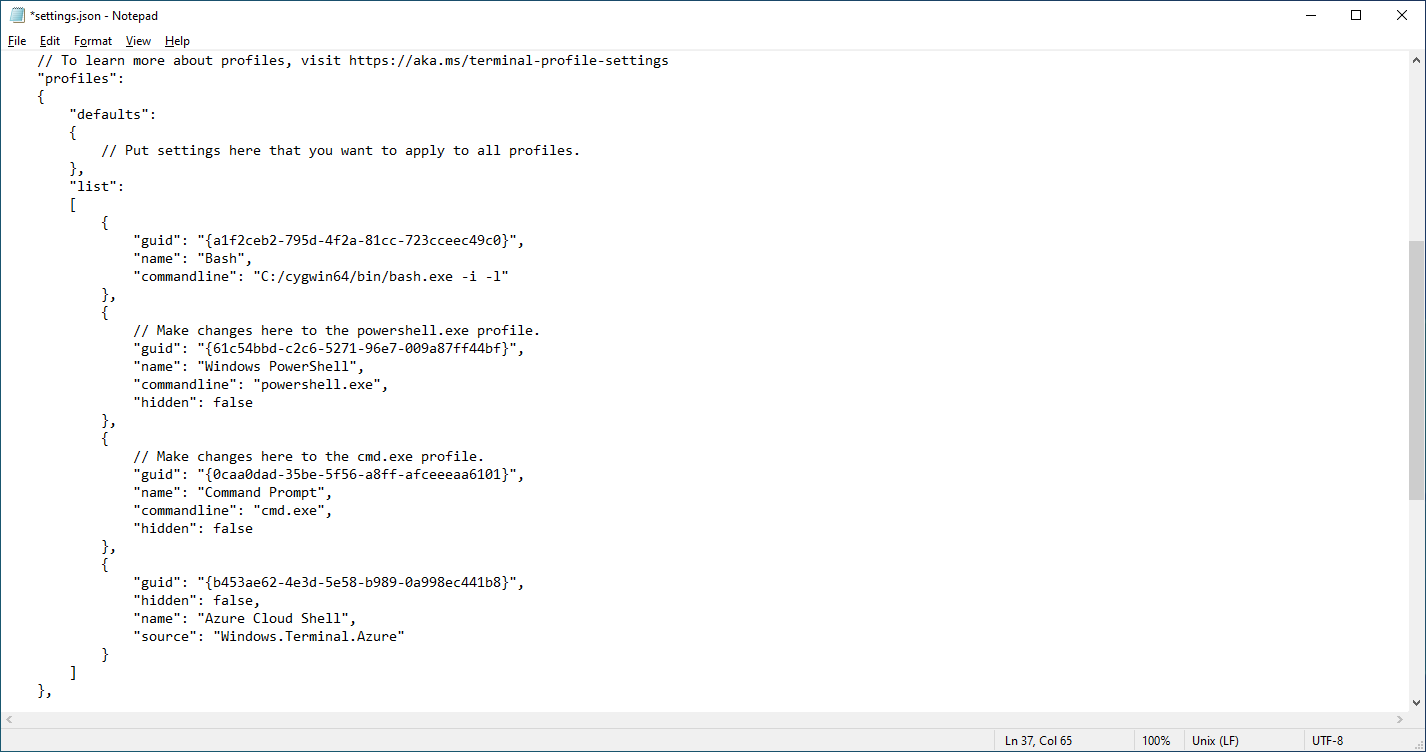
In the drop-down menu, choose “Settings”. This will open up the configuration file for Windows Terminal. If you scroll down a little bit, you will see the
profileskey and thelistarray under it. This is where the new profile will be added to.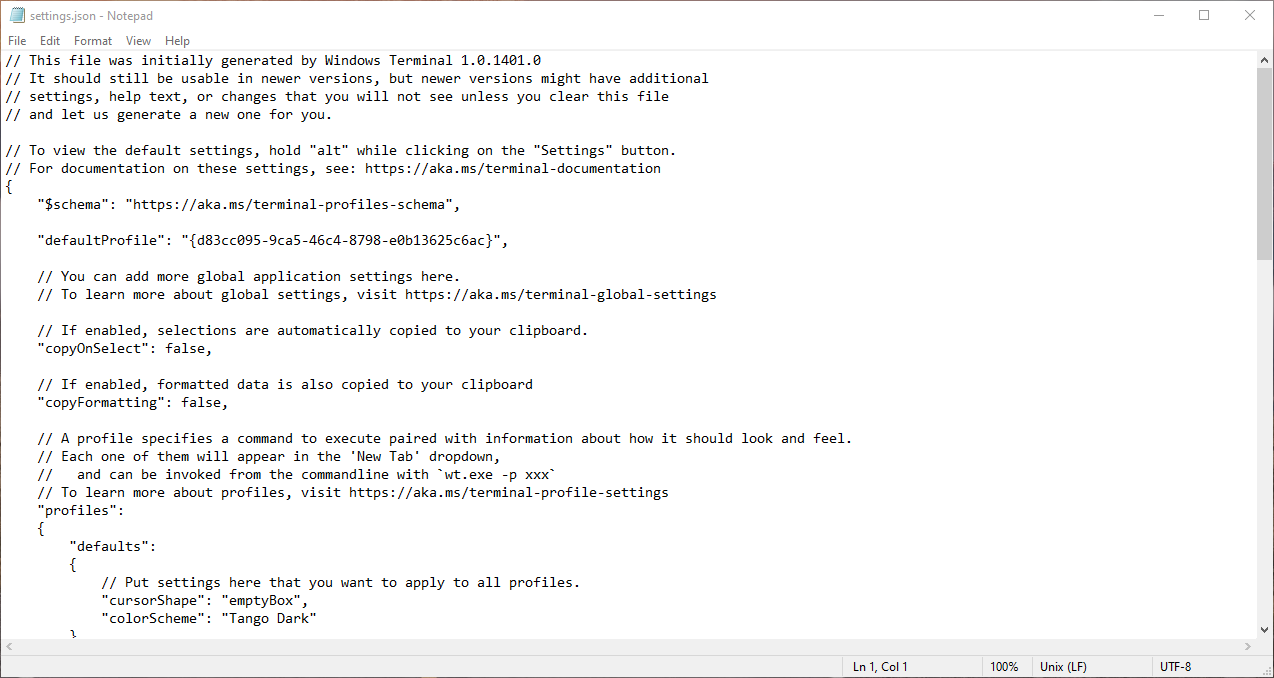
The basic attributes for a profile are:
-
guid: A unique identifier for the profile -
name: The profile’s name -
commandline: The command to start the shell used for this profile
-
-
The unique identifier in
guidcan be any 128-bit UUID that does not repeat any existing one in the configuration file. Please notice that you cannot reuse the identifier for a deleted preset profile. For instance, even if you never use the Azure Cloud Shell and deleted its profile, you should not use that profile’sguidfor any new profile.After all, this should not be a problem because there are many ways to get a UUID:
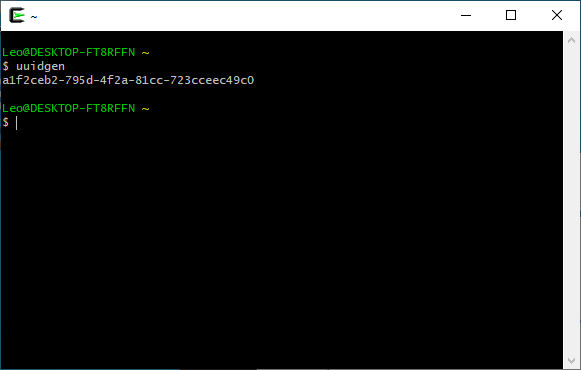
- Run the
uuidgenprogram in Cygwin - Search for UUID generators online and use one of them
- Simply use the UUID I generated for the demo, which is
a1f2ceb2-795d-4f2a-81cc-723cceec49c0
- Run the
-
Now, you need to know the command line used to start Cygwin’s shell.
First, find your Cygwin installation path. By default, it is
C:\cygwin64for the 64-bit version. Thebash.exeexecutable in a Cygwin installation should be placed in thebinfolder under Cygwin’s installation path. Therefore, the absolute path to the executable file isC:\cygwin64\bin\bash.exeby default.For Bash in Cygwin, you need to start
bashas an interactive login shell; otherwise, you will encounter the “command not found” error when executing basic commands likels. This is because the file/etc/profile, which adds Cygwin’s/usr/binand/usr/local/bindirectories to thePATHenvironment variable, is not executed for non-login shells. An interactive login shell can be started with-i -lflags. If you are using another shell, please confirm the way to get Cygwin’s/usr/binand/usr/local/binintoPATHfor your shell.Therefore, the full command to run Bash in Cygwin is
C:\cygwin64\bin\bash.exe -i -l. If you have installed Cygwin to a non-default path and/or want to use another shell, then please change the command accordingly.Finally, the configuration file accepts the forward slash
/as the path component separator, so you can replace every backslash\in the command with/. For instance, the above command will be changed toC:/cygwin64/bin/bash.exe -i -l. If you want to use the backslash instead, you have to escape it by adding another backslash, causing the command to becomeC:\\cygwin64\\bin\\bash.exe -i -l. -
At this point you have collected all information needed for the new profile, so it’s time to add it to the configuration file:
         {
             "guid": "{a1f2ceb2-795d-4f2a-81cc-723cceec49c0}",
             "name": "Bash",
             "commandline": "C:/cygwin64/bin/bash.exe -i -l"
         },
The order of the profiles in the configuration is the same as the order in which they are shown in Windows Terminal. Here, because I want it to be the first entry, I put it before every other profile. If you are not adding it as the last profile, then don’t forget the trailing comma; otherwise, make sure the trailing comma is not there, and add a comma after the profile that was originally the last one.
-
Save the file. If your configuration file is valid, then you should now see the new profile added to the menu. When you choose it, you should see Bash running in a new terminal tab.
Steps for Git Bash
The steps to add Git Bash differ at only two places:
-
You cannot run
uuidgenin Git Bash to obtain a unique identifier. However, you can still use any alternative method mentioned above to get one. -
If you installed Git for Windows at
C:\Program Files\Git, then the absolute path to the Git Bash executable isC:\Program Files\Git\bin\bash.exe.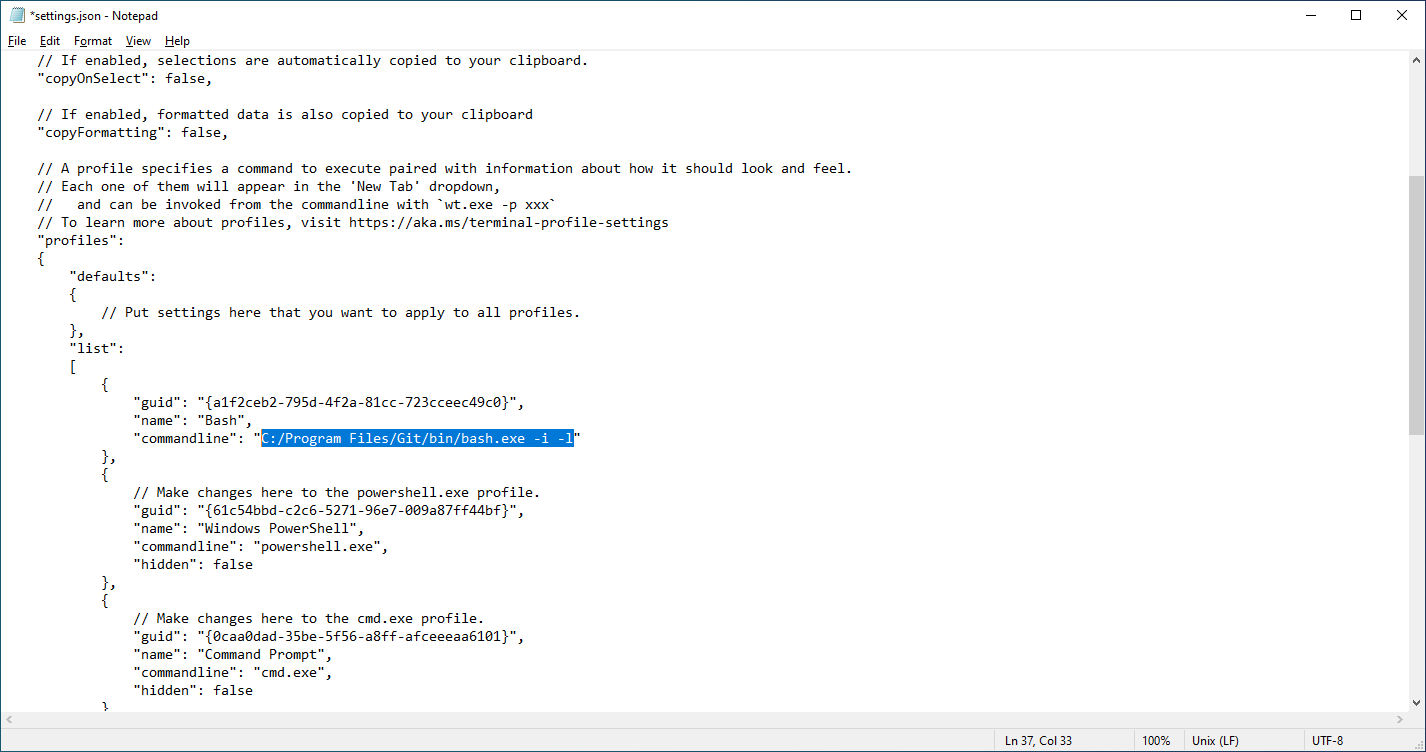
Removing “Process Exited With Code x” Messages
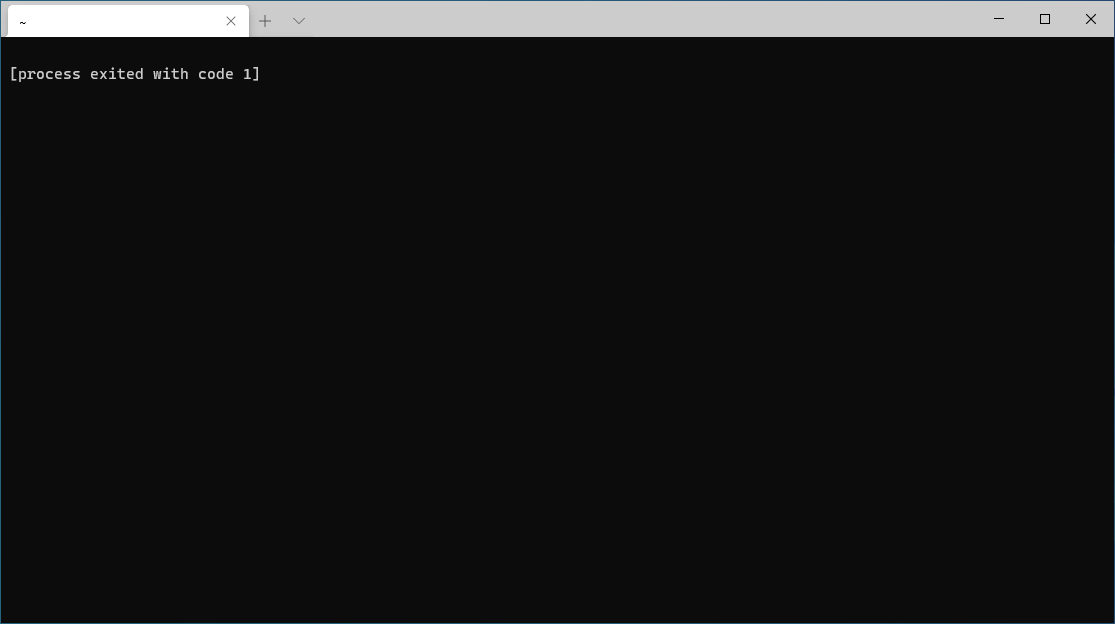
If the last command you ran before quitting the shell using exit or Ctrl-D
finished with a non-zero exit status, you might see something like what the
screenshot shows. Sometimes this can even happen if you did not run any
command, which is likely to be caused by a command in initialization scripts
like .bashrc.
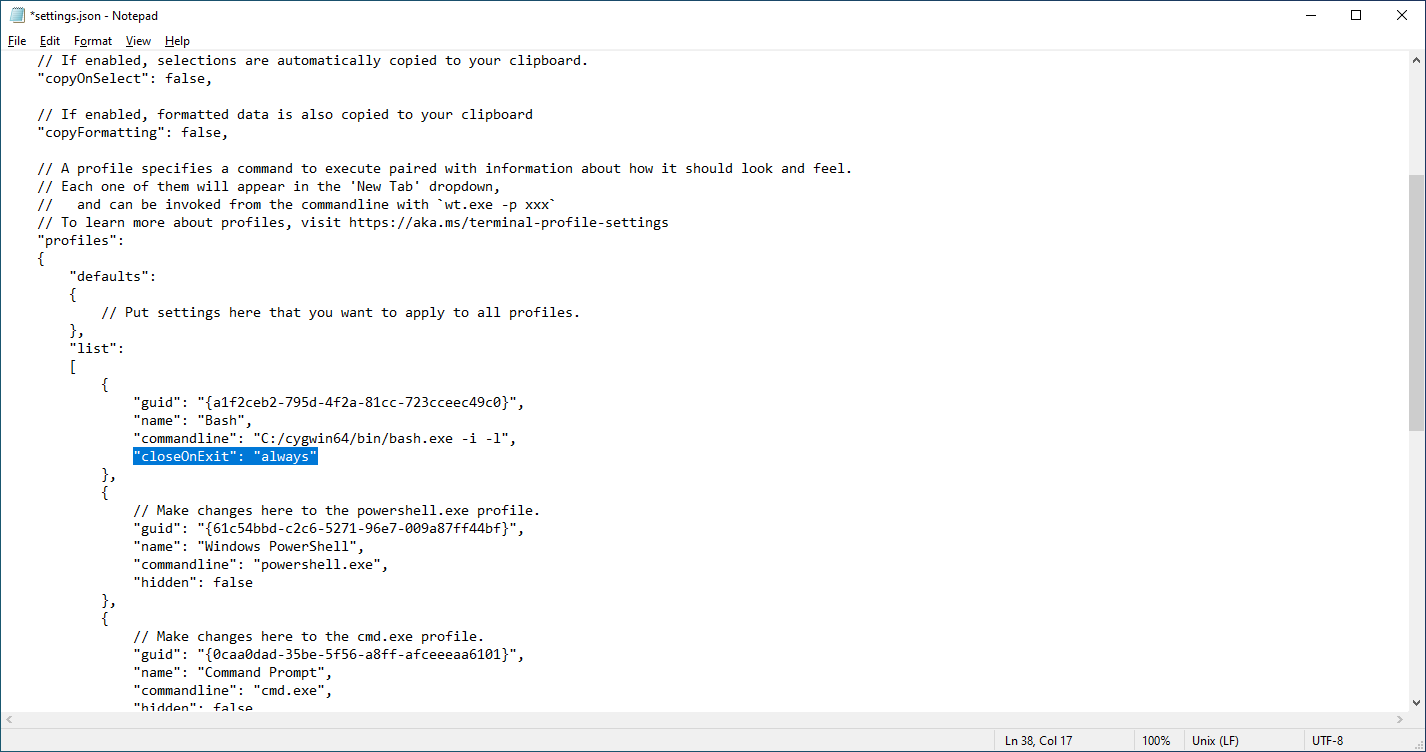
These messages must be dismissed manually. To stop Windows Terminal from
generating them, add an "closeOnExit": "always" option to the new profile in
the configuration file. Don’t forget, if this option is the last line for the
profile, you need to make sure a comma exists at the end of the previous line.
Setting Default Windows Terminal Profile
There is a defaultProfile option in the configuration file, which allows you
to choose the default shell when a new terminal window or tab is opened. The
default profile should be specified by its guid.